
Protect the source data
Keep an untouched backup of the complete flight dataset. Preserve its folder structure and associated positioning and calibration information; work from a separate copy.

LiDAR workflow · Zenmuse L3
Plan an L3 processing workflow around the required deliverables, understand the free LiDAR functions in Terra and prepare a verifiable handover.
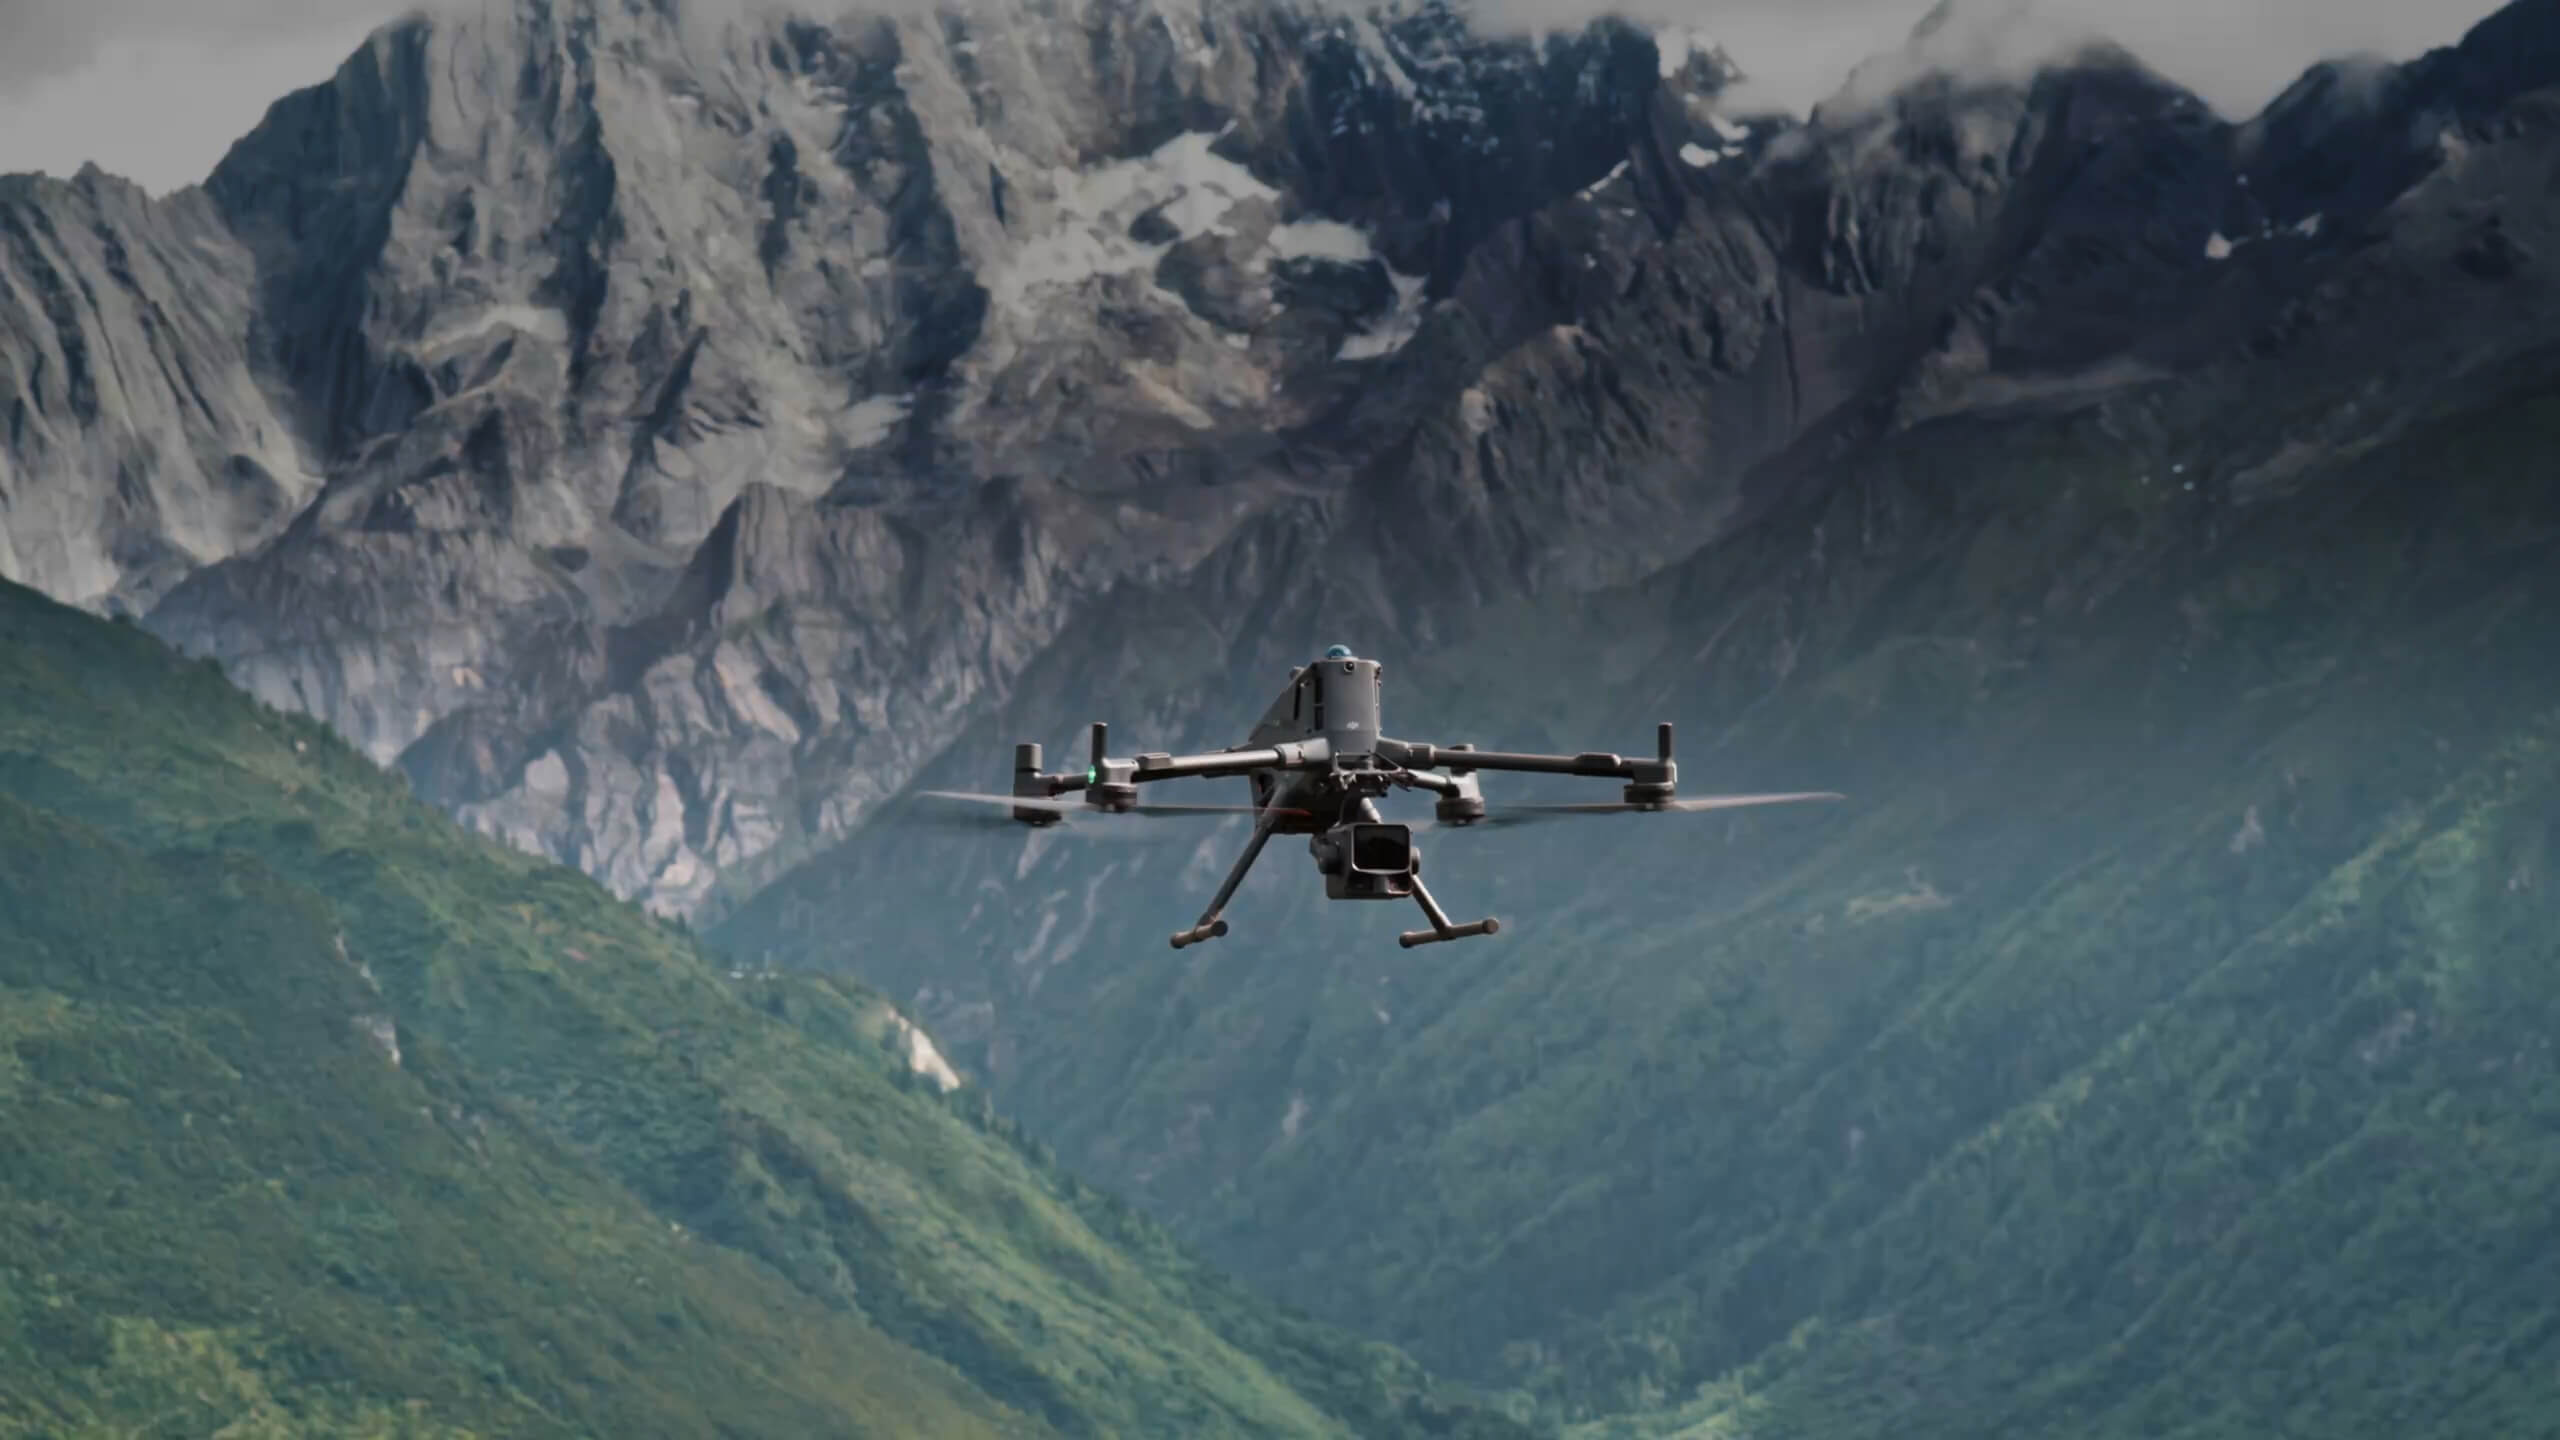
A DJI Terra and Zenmuse L3 workflow should begin with the file your customer needs, the coordinate reference system and the evidence required to accept the survey. Agree on these before collecting data or choosing software.
Zenmuse L3 is used with the DJI Matrice 400 platform. This guide focuses on planning the office processing and handover stages; use the current L3 instructions for aircraft setup and field operation.
| Customer requirement | Plan to prepare | Acceptance check |
|---|---|---|
| Point cloud for a survey or design team | An agreed exchange format, coordinate reference and project boundary. | Open a representative export in the receiving application and compare independent checkpoints. |
| Terrain information beneath vegetation | A ground classification and terrain modelling brief. | Inspect ground selection in representative areas before using the result for surfaces or quantities. |
| RGB mapping or presentation | A separate image-processing and output specification. | Confirm coverage, image suitability, export format and the relevant software entitlement. |
On smaller screens, swipe the table horizontally to read every column.
For the wider platform overview, see DJI Terra supported drones and sensors.
For the L3 LiDAR functions described in DJI’s FAQ, no paid Terra license is required. DJI lists point-cloud processing, accuracy optimization and other LiDAR deliverables as free. The FAQ bases this policy on Terra V5.1.0 and directs users to release notes for subsequent functions.
Build your purchase decision around the complete job. If you also need a separate visible-light reconstruction workflow, particular exports or other licensed capabilities, check the current edition against those requirements. An L3 ownership decision and a Terra license decision should each have their own requirements list.
Read our DJI Terra license guide and guide to free Terra functions, or send us your intended outputs before ordering.
Manufacturer policy: Zenmuse L3 FAQ. Version changes: Terra versions and release notes.
Keep an untouched backup of the complete flight dataset. Preserve its folder structure and associated positioning and calibration information; work from a separate copy.
Record horizontal coordinates, units, height reference, base-station details and checkpoint provenance. Resolve a height-reference mismatch before interpreting an elevation difference.
Allow storage for source files, working data and exports. Run a representative sample first to assess memory use, processing time and the practical handover size.
Useful preparation: workstation requirements and coordinate systems and height references.
Use this sequence as a project checklist. Exact settings and interface labels depend on your Terra version and dataset.
Select data containing the features that matter to the job: for example, hard ground, vegetation or overlapping strips. Write down the acceptance criteria before comparing results.
Import the complete L3 dataset through the supported LiDAR workflow. Confirm that all intended flights and their associated records are present before reconstruction.
Review the positioning information and the coordinate and elevation settings. If the job requires PPK, verify the reference data and timing against the current manual. DJI documents L3 PPK support from Terra V5.1.0.
Use the processing options appropriate to the task, then inspect overlap, hard surfaces and representative cross-sections. Keep a record of the version and settings used.
Check positioning, data completeness and reference settings before repeating the run. For persistent calibration symptoms, follow DJI’s current calibration guidance rather than applying arbitrary corrections to the export.
Test a representative area in the customer’s application. Once format, placement and usability are accepted, process and package the full agreed deliverables.
Procedure reference: DJI Terra User Manual. Related planning guide: PPK workflow in DJI Terra.

Live preview and final survey acceptance are different stages. DJI states that the L3 real-time point cloud does not have the same accuracy as the Terra reconstructed result. Use the post-processed data and project-specific checks for the final handover.
Our quality report guide and accuracy, GCP and RTK guide explain how to frame these checks. A visually clean model alone does not establish that a contractual survey tolerance has been met.
Make the handover reproducible. Alongside the agreed data, provide a short delivery note with the project name, survey date, boundary, horizontal and vertical references, units, Terra version and the checks completed.
If terrain products are part of the brief, record how the ground data and surface were prepared. Ask the recipient to confirm which file type and structure their GIS, CAD or modelling software expects; a point-cloud export is not automatically a finished design surface.
For output selection, see DJI Terra outputs explained. For model review and delivery options, continue with our DJI Reality and TerraGS viewing guide.
Start by checking whether the free L3 functions cover your deliverables. Ask for a license recommendation only for additional capabilities you actually need.
It can help structure planning, but use the current L3 documentation for compatibility, data handling and processing settings. Review a representative L3 dataset before committing to a production schedule.
No. Assess independent checkpoints, references, coverage and the intended use. Visual review helps identify problems but does not replace acceptance measurements.
Tell us the aircraft and sensor, Terra version, dataset size, required deliverables, coordinate and height references, receiving software and whether you already hold a license.
Share your intended deliverables and receiving software with Drone Emotions. We can help clarify the workflow and whether an additional Terra license is relevant.
This guide provides practical planning advice alongside the linked manufacturer documentation. Software functions and license terms can change; check the documentation for the version you intend to deploy. DJI product images are credited to DJI.