

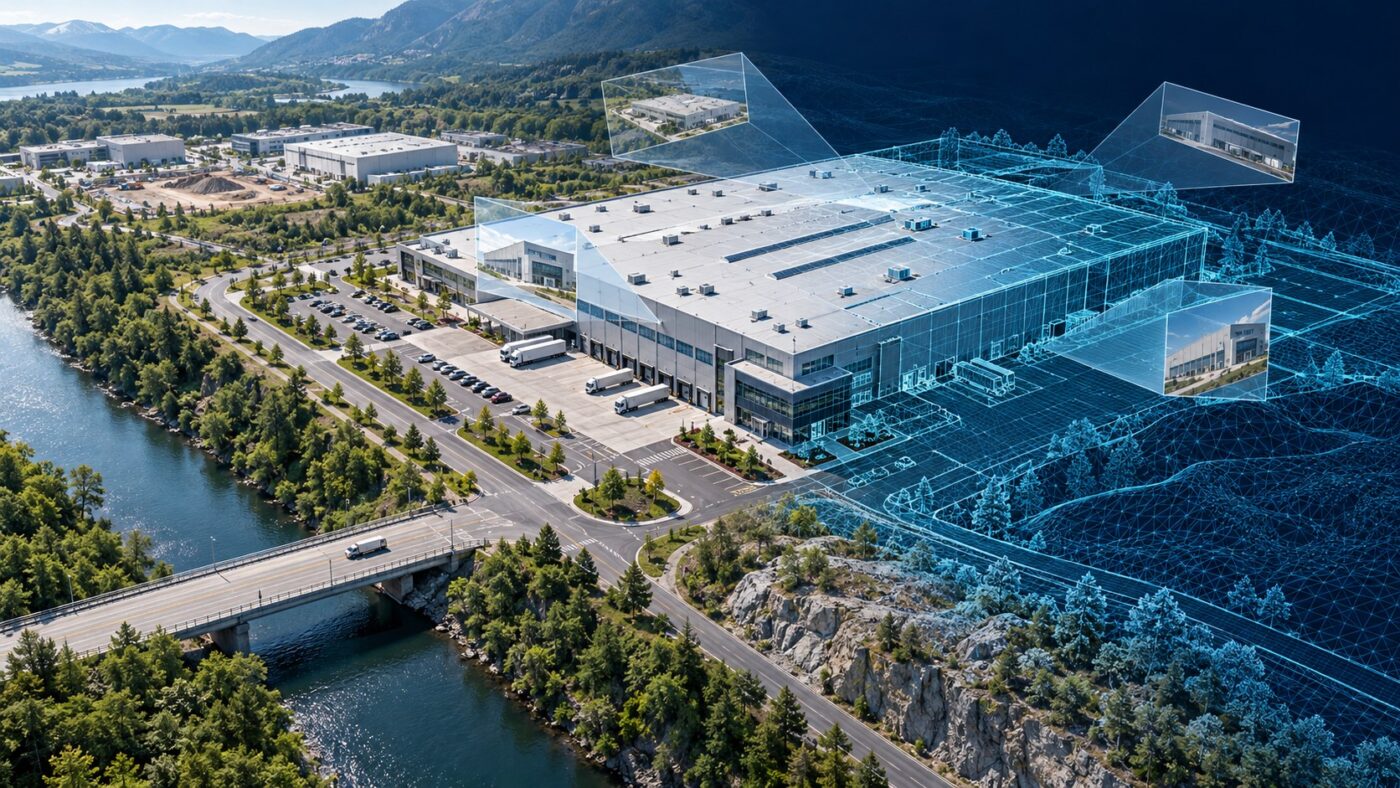
FULL-FRAME AERIAL PHOTOGRAMMETRY
Connect P1 capture choices with the Terra deliverable
DJI Terra and Zenmuse P1 form a photogrammetry workflow for teams that need detailed visible-light maps and 3D site reconstructions. The camera choice is only part of the process: lens, image coverage, positioning, processing and validation must fit the intended deliverable.
This guide explains the P1 capture setup, nadir and oblique planning, source-file review, Terra reconstruction and GIS/CAD/BIM handover. It helps distinguish visible-light photogrammetry from LiDAR terrain workflows before a project is configured.
What Zenmuse P1 contributes to a Terra workflow
DJI describes P1 as a 45 MP full-frame camera with interchangeable fixed-focus lenses, a stabilized gimbal and a mechanical shutter. Its purpose is aerial photogrammetry: capturing overlapping visible-light images for reconstruction.
Terra processes suitable capture data into the products supported by the selected task and software edition. Agree the deliverable first, then choose the capture and processing method around it.
| Required result | Coverage question | Review question |
|---|---|---|
| Orthomosaic | Are the site boundaries and relevant ground features covered? | Are seams, moving objects and georeferencing suitable? |
| Surface elevation model | Does imagery observe the surfaces that the model must represent? | Does the result include roofs or vegetation? |
| Textured 3D mesh | Are façades and complex structures visible from suitable angles? | Are holes, texture artifacts and scale acceptable? |
| Photogrammetric point cloud | Is there enough image geometry and texture for the target? | Is the cloud suitable for the intended engineering workflow? |
See our Terra outputs guide for the distinction between these products.
Confirm the aircraft, mounting setup and software release
DJI’s current P1 FAQ lists Matrice 400, Matrice 350 RTK and Matrice 300 RTK compatibility. Mounting and multi-payload conditions depend on the platform; check the stated mapping limitations for the installed configuration.
Do not treat mechanical mounting compatibility as proof that every flight mode is available in every firmware combination. Confirm the aircraft, controller, capture application, P1 firmware and Terra release before planning a production mission.
- Verify the permitted gimbal connector and payload configuration.
- Confirm the installed lens and the intended focus setup.
- Check the supported capture mode in the current aircraft instructions.
- Retain a record of firmware and application versions.
- Test a representative capture before repeating the method at scale.
Use our supported drones and sensors guide and the official P1 downloads to identify the applicable documentation.
Choose the P1 lens around resolution and site coverage
DJI lists 24 mm, 35 mm and 50 mm lens options in the P1 specifications. A different focal length changes the footprint and nominal GSD at the same target distance. It also changes how much capture is required for the agreed area.
The P1 FAQ gives approximate relationships of H/55, H/80 and H/114 respectively, with H in metres and GSD in centimetres per pixel. These describe sampling geometry, not guaranteed positional accuracy.
| Lens | Approximate GSD | Planning implication |
|---|---|---|
| 24 mm | 1.45 cm/pixel | A wider footprint at the same distance. |
| 35 mm | 1.00 cm/pixel | A different footprint/detail balance. |
| 50 mm | 0.70 cm/pixel | A narrower footprint with finer nominal sampling. |
The figures are calculations from DJI’s published relationships, assuming the applicable geometry. They are not permission to fly at a specified altitude or survey-performance guarantees.
Our GSD, flight height and overlap guide explains target distance, pixel size and the effect of changing terrain. Keep the actual lens recorded with the capture dataset.
Nadir, oblique and Smart Oblique: plan for the object
Nadir coverage is useful for plan-view mapping. Oblique viewpoints help observe vertical surfaces and complex site geometry when the selected platform and mission support them. Choose coverage around the surfaces the recipient needs.
DJI describes Smart Oblique Capture as a way to acquire multiple viewing angles while limiting unnecessary edge images. Mode availability and planning details should be checked against the current aircraft and capture application, rather than assumed from an older example.
- Review façade visibility and objects concealed by neighboring structures.
- Check the boundary and edge coverage of the intended reconstruction.
- Account for terrain relief and varying camera-to-target distance.
- Set appropriate overlap for the selected scene and mode.
- Inspect representative images for focus, exposure and motion effects.
For example, a building mesh needs usable views of its sides; a nadir plan that covers the roof alone may not provide them. Additional images help only when they add useful geometry or detail.
Keep flight planning in the supported capture application. Terra’s general mission-planning behavior is version-specific; use our version guide when comparing newer workflows with old tutorials.
Preserve P1 images and the associated task records
Archive the original capture folders before preparing a working copy. Keep image names, metadata and positioning records associated with the correct task. A set of resized copies is not an equivalent reconstruction input.
Review which images the installed Terra workflow accepts and how the camera metadata is interpreted. Keep the physical lens, capture mode and any intentional camera-setting changes documented.
If PPK is part of the positioning plan
DJI states that supported P1 capture tasks retain GNSS observations and event records for PPK post-processing. That does not automatically prove that every native Terra PPK route supports every P1 configuration. Confirm the processor and import method before acquisition.
Use the current camera and Terra instructions, or an approved external positioning workflow with a correctly defined POS handover where required. Keep the base coordinate and output reference traceable.
Do not replace source data with presentation files
A screenshot, colorized map or compressed preview can communicate the site. It does not retain the original photo geometry and metadata needed for the same photogrammetric reconstruction.
A practical DJI Terra reconstruction sequence for P1 imagery
- Create a project and identify the original capture revision.
- Import supported images and review their camera and positioning information.
- Define the coordinate and height references required by the project.
- Apply the agreed control and independent-check strategy.
- Run aerial triangulation and inspect alignment and coverage.
- Select the required reconstruction outputs and a suitable region of interest.
- Generate the maps, cloud or mesh and inspect difficult areas.
- Validate the accepted outputs before exporting the handover package.
Test a representative region before launching a large project. Include typical ground, an edge area and a complex object so the test assesses more than the easiest part of the survey.
Our installation and activation guide covers deployment. Review the workstation requirements separately against the planned dataset.
Review coverage and accuracy before accepting the reconstruction
Inspect the mesh, map or cloud against the original capture. Look for missing façades, stretched textures, moving objects, sparse geometry and mismatched edges. A detailed-looking model can still contain a significant coverage gap.
- Review aligned versus unaligned images and their spatial pattern.
- Check independent positions and elevations in the agreed reference.
- Inspect transitions between flights or capture blocks.
- Check important small structures at an appropriate viewing scale.
- Keep limitations and supplementary survey evidence with the accepted revision.
The quality report guide explains the role of processing indicators. Our accuracy, GCP and RTK guide covers control and validation.
Do not convert a camera’s published accuracy example into a promise for every site. Assess the actual capture, conditions, processing and independent checks against the project specification.
P1 photogrammetry is different from LiDAR terrain acquisition
P1 reconstructs geometry from visible-light images. If the ground is obscured by a roof or dense vegetation, those images do not automatically reveal the hidden terrain. A photogrammetric surface can include the visible canopy or building instead.
A LiDAR workflow can offer different acquisition evidence, but its suitability still depends on the sensor, coverage and ground observations. Choose between systems around the required deliverable and site conditions, rather than image appearance alone.
| Project need | Question to resolve |
|---|---|
| Textured building model | Are visible surfaces covered from sufficient angles? |
| Ground terrain beneath vegetation | Does the acquisition actually provide usable ground observations? |
| Site overview and façade context | What image detail and 3D coverage are required? |
| Engineering terrain deliverable | What control, ground selection and supplementary features are specified? |
Compare the separate Zenmuse L2 workflow before choosing a terrain-processing method.
Prepare GIS, CAD and BIM outputs with a reference note
Agree the output format and receiving application before export. Include horizontal CRS, height reference, units, capture date, software revision and validation evidence with the accepted deliverable.
- For GIS, prepare the required georeferenced raster or cloud and test it using our Terra to QGIS guide.
- For a Civil 3D cloud and surface workflow, use the AutoCAD Civil 3D guide and validate the derived terrain product.
- For BIM reference use, follow the Revit handover guide and preserve required indexed-cloud dependencies.
An exported cloud or mesh is not automatically a modeled BIM object, an accepted design surface or a complete online collaboration platform. Deliver the agreed data and specify any additional interpretation or conversion.
Select Terra licensing around the actual reconstruction methods. Our license guide helps compare options without treating the P1 sensor name alone as an edition requirement.
DJI Terra and Zenmuse P1 FAQ
Can DJI Terra process Zenmuse P1 photographs?
P1 is a DJI photogrammetry payload used with Terra reconstruction workflows. Confirm the input files, camera setup, task and software entitlement for the intended project.
Does the 50 mm lens always produce a better survey?
It changes sampling and coverage at a given distance. The useful choice depends on the required detail, site geometry, mission coverage and demonstrated performance.
Do I need oblique images for every P1 project?
Choose capture geometry around the output. Plan-view mapping and detailed building reconstruction have different coverage needs.
Can a P1 surface be used as bare-earth terrain automatically?
Inspect what was observed and how the ground model was created. Hidden ground is not recovered simply because the camera produces high-resolution images.
Does the sensor remove the need for checks or control planning?
No. Establish the control strategy and validate the deliverable against the project requirements using independent evidence.
Choose the Terra workflow for your P1 deliverable
Tell us your aircraft, lens, typical project size and required map or 3D outputs. We can help check Terra processing compatibility and licensing before you configure the reconstruction setup.
Official documentation
- Official Zenmuse P1 product overview
- DJI P1 sensor and lens specifications
- DJI P1 compatibility, capture and GSD FAQ
- DJI P1 manuals and software downloads
- DJI land-survey capture and processing workflow
- DJI Terra documentation and releases
Independent guide by Drone Emotions. Documentation reviewed on 12 October 2026. Consult the documentation for the installed software and capture-system releases.


