

DRONE SURVEY TO CIVIL DESIGN
Turn a Terra point cloud into useful Civil 3D terrain data
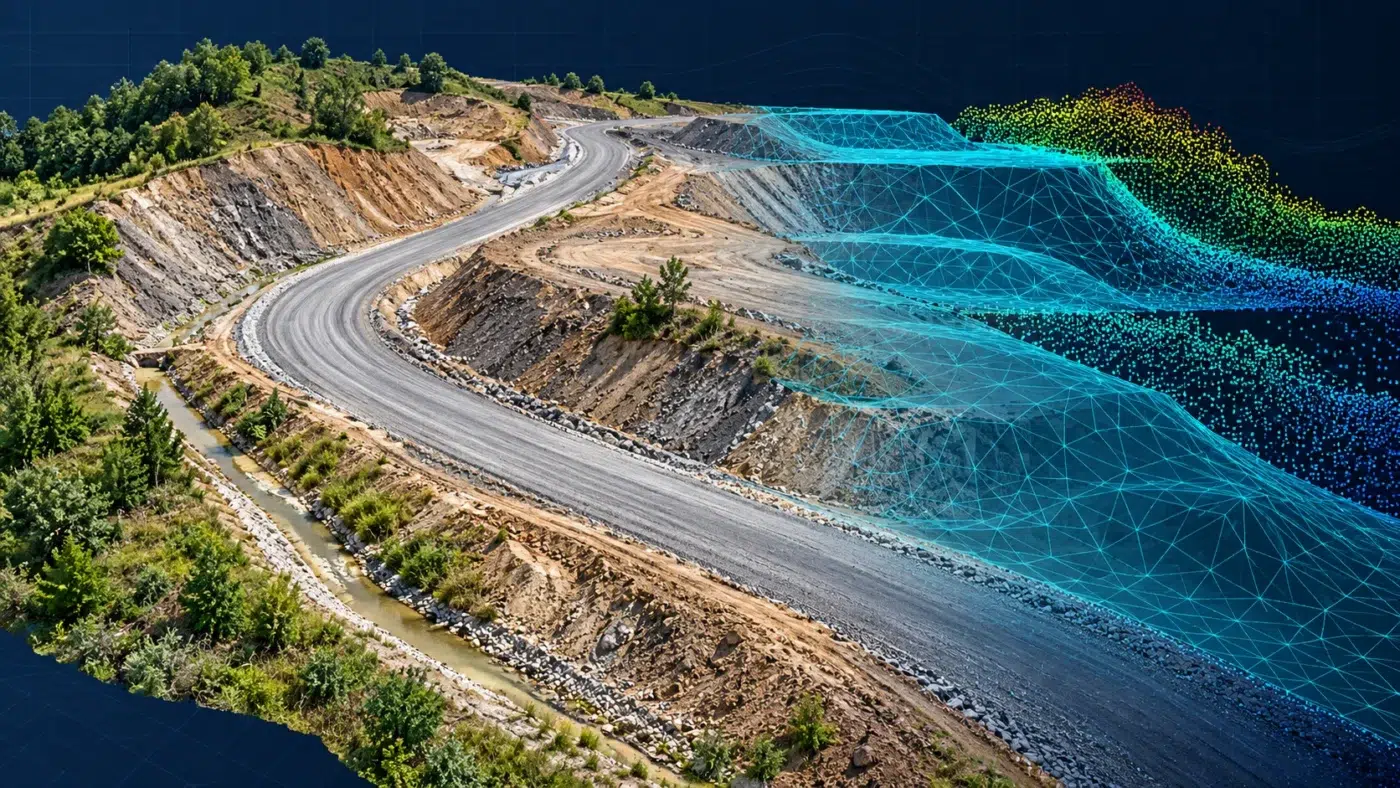
DJI Terra to AutoCAD Civil 3D is a practical workflow for engineers who need drone survey data in a civil design project. Terra reconstructs or processes the capture; ReCap provides an indexed point cloud bridge; Civil 3D can use the prepared data to create a terrain surface.
This guide focuses on LAS export, ReCap indexing, RCP/RCS attachment, ground selection and surface review. It explains what changes at each stage, the checks that matter and how to deliver a drawing that another team can reopen.
Choose the Civil 3D deliverable before exporting
Start with the design task. A reference cloud for viewing a site, a bare-earth surface for grading and a textured model for presentation are different deliverables. Agree the required product with the receiving team before processing the full dataset.
| Product | Useful for | What it does not establish |
|---|---|---|
| Indexed point cloud | Viewing captured site geometry and extracting selected information. | It does not automatically become an editable design surface. |
| TIN terrain surface | Existing-ground profiles, sections and other supported civil analysis. | It is an interpreted surface, not every observed point or object. |
| Textured mesh | Visual site context and presentation. | It is not automatically a Civil 3D terrain surface. |
The workflow below targets a point cloud and, where appropriate, an existing-ground TIN surface. Our Terra outputs guide explains how those data structures differ.
How LAS, ReCap, RCP and RCS fit together
DJI lists LAS among the available Zenmuse L2 point cloud outputs. Autodesk documents LAS import in ReCap and RCP/RCS support for the Civil 3D point-cloud surface workflow. Together, these documented formats provide the bridge used in this guide.
The practical sequence is DJI Terra → LAS → Autodesk ReCap → RCP/RCS → Civil 3D. ReCap indexes the cloud for the Autodesk environment; this step does not automatically improve survey accuracy or establish a new coordinate reference.
Autodesk’s ReCap supported formats and Civil 3D surface creation documentation describe the relevant support. Follow the documentation for your installed releases.
An RCP project is not the complete cloud by itself
An RCP references scan data. Preserve its support files and folder relationships during delivery. Renaming or moving only the project file can leave the recipient with broken references.
Prepare a Terra export for the engineering task
Retain an untouched reconstruction and export a working copy for CAD. Give it a clear capture date and revision. Select the cloud and coverage around the intended design area instead of exporting a large unrelated site by default.
- Inspect geometry: look for missing coverage, duplicate surfaces, noise and strip discrepancies.
- Define the reference: record horizontal CRS, height reference and units.
- Assess ground: for terrain design, review how ground observations were identified and what remains hidden.
- Retain evidence: keep control observations, independent checks and the processing report.
- Test scale: prepare a small representative area containing normal terrain and a difficult feature.
For acquisition and processing context, read our Terra and Zenmuse L2 guide. For a shifted or incorrectly elevated output, use the coordinate system and geoid guide before altering the file in CAD.
Select Terra licensing against the sensor and processing functions. The receiving application’s name alone does not determine the entitlement; our license guide helps clarify the processing scope.
Import the LAS cloud into Autodesk ReCap
Create the appropriate scan project in ReCap and import the LAS export. Review the available import options deliberately, including any reference or unit handling. Allow indexing to complete and save the resulting project with its required support data.
- Keep the original LAS separately from the indexed working project.
- Open the indexed result and inspect its extent, orientation and representative elevations.
- Compare known positions, distances and levels with the Terra export and survey evidence.
- Review whether required attributes or classifications remain available in the receiving workflow.
- Save a clearly named RCP/RCS package and test it before starting the CAD surface.
Use suitable working storage and assess the Autodesk applications’ requirements separately from Terra processing. Our Terra workstation guide covers the upstream reconstruction machine.
If a cloud opens but a measurement changes unexpectedly, investigate the interpretation of units and references. Do not accept an apparently tidy import as proof that coordinates are unchanged.
Attach the indexed cloud in Civil 3D
Prepare a Civil 3D drawing with the required project units and reference setup. Attach the indexed RCP or RCS using the point cloud attachment tools available in the installed release. Review insertion settings instead of accepting an unexplained move, rotation or scale.
Use an agreed reference note to check known locations and elevations. Keep the original survey coordinates traceable if the design team uses a documented local-grid transformation.
A drawing CRS setting does not prove the cloud was transformed
Verify the actual attachment behavior and numeric coordinates. Do not assume that assigning a drawing reference recalculates every attached point. If a transformation is required, apply a documented method and test independent locations.
An imported cloud is a reference dataset at this stage. Creating the Civil 3D surface is a separate operation. A DWG containing the cloud is not automatically a bare-earth model.
Create a TIN surface from the selected point cloud area
Autodesk documents Create Surface From Point Cloud under Home → Create Ground Data → Surfaces. The wizard supports selection of cloud areas and non-ground filtering before the surface is generated.
- Select the required cloud or a clearly defined area.
- Give the new surface a meaningful name and review its creation settings.
- Refine the selected area so unrelated survey coverage is excluded.
- Review the non-ground filtering settings for the site and data.
- Create the surface, then inspect the triangles and elevations before relying on contours or analysis.
The procedure is documented in the Civil 3D 2027 guide. Interface details can differ in another release.
For a ground model, check what points were actually used. A color display or a clipped view does not by itself prove that non-ground observations were excluded from the derived surface.
Review terrain geometry before using the surface for design
Compare the TIN with the source cloud and independent survey evidence. Inspect road edges, ditch bottoms, retaining structures, embankments and areas with sparse ground observations. Large triangles across an unseen area can create a plausible surface without sufficient supporting data.
- Check boundary triangles and bridging across coverage gaps.
- Look for roofs, vehicles or vegetation incorrectly represented as terrain.
- Review abrupt grade changes and whether additional surveyed breaklines are required.
- Compare check-point elevations with the derived surface, not only with the original cloud.
- Document filtering, reduction and editing applied after Terra processing.
A TIN represents a surface that assigns one elevation at a plan location. It cannot fully represent every overlapping structure, such as a bridge deck and the ground beneath it, in a single terrain surface.
Our quality report guide explains upstream quality indicators. Evaluate the derived CAD surface as an additional product with its own acceptance checks.
Use contours as a review aid
Contour display can reveal spikes, terraces and discontinuities. A visually smooth contour pattern still needs verification against the source terrain; smoothing the display does not improve the observations.
Common DJI Terra to Civil 3D problems
| Problem | First check | Practical response |
|---|---|---|
| The cloud is missing | Reference paths, support files and point-cloud display settings. | Open the ReCap package independently and restore the required dependencies. |
| The cloud is shifted or scaled | Insertion settings, source reference and drawing units. | Compare known numeric coordinates and a measured distance. |
| The terrain contains buildings | Point selection and actual ground filtering. | Review the source classification and surface generation inputs. |
| The surface is too large | Required area and retained geometric detail. | Test a justified subset or reduction, then validate the result. |
| The surface misses a ditch | Ground coverage, filtering and triangulation. | Inspect the source points and add approved supplementary survey information where needed. |
| The recipient cannot reopen it | DWG references and ReCap folder relationships. | Test the delivered package from a different working location. |
Keep a revision history during troubleshooting. Change one setting at a time and compare the same test area. A smaller surface may be easier to handle, but arbitrary thinning can remove important engineering detail.
Deliver the drawing and its survey dependencies
Agree whether the recipient needs a reference cloud, a reviewed surface, a drawing or all three. Provide the files and metadata required to reproduce the approved result.
- Civil 3D drawing and the agreed surface products.
- Required RCP/RCS data and support folders.
- Source export or an agreed archive location.
- Horizontal and vertical references, units and any applied transformation.
- Capture date, software releases and processing revisions.
- Ground-selection method, surface edits and independent validation.
- Known gaps and the intended use of the surface.
Test the handover from the recipient’s delivery folder. A successfully opened drawing on the author’s workstation may still rely on local paths unavailable to others.
DJI Terra to AutoCAD Civil 3D FAQ
Can I use a DJI Terra LAS file in Civil 3D?
The documented route in this guide imports LAS into ReCap and uses indexed RCP/RCS data in Civil 3D. Check your installed releases and any additional workflow before choosing another route.
Does attaching the point cloud create a terrain surface?
No. Attachment makes the cloud available as reference data. Surface creation requires a separate operation and review of the selected points.
Is AutoCAD the same as Civil 3D for terrain modeling?
Civil 3D provides civil surface tools. A general AutoCAD point-cloud reference workflow should not be assumed to include those same design functions.
Should I send only the RCP file?
Include the scan data and supporting dependencies required by that project. Test the exact delivery package rather than assuming the project file contains the cloud.
Can I use the same indexed cloud in Revit?
RCP/RCS are also relevant to a Revit reference workflow. See our Terra to Revit guide for the separate BIM handover and coordinate checks.
Plan the Terra output around your Civil 3D deliverable
Tell us your drone and sensor, the required Terra outputs and how the engineering team intends to use them. We can help assess the Terra processing and licensing requirements for the proposed workflow.
Official documentation
- DJI Zenmuse L2 output formats and ground processing
- Autodesk ReCap supported formats
- Civil 3D 2027: create a surface from point cloud data
- Autodesk guidance on point-cloud import routes
- DJI Terra documentation and software downloads
Independent guide by Drone Emotions. Documentation reviewed on 12 October 2026. Consult the documentation for the installed software and capture-system releases.


