

DRONE SURVEY TO GIS WORKFLOW
Bring your DJI Terra outputs into a useful QGIS project
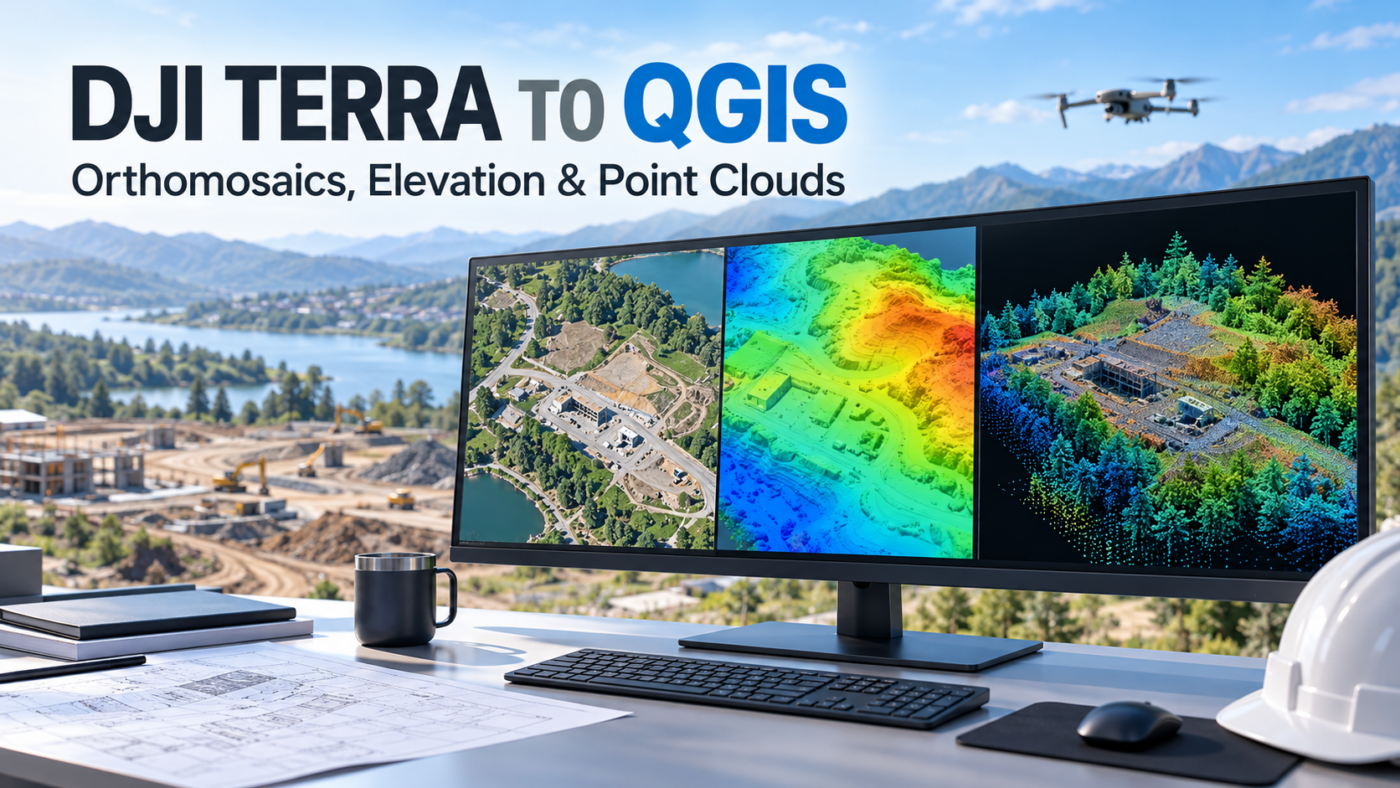
DJI Terra to QGIS is a practical workflow for teams that need to combine reconstructed drone data with other mapping layers. Terra handles the reconstruction stage; QGIS provides a GIS environment for reviewing compatible outputs and building a project around them.
This guide covers GeoTIFF orthomosaics, elevation rasters and LAS point clouds. It explains import preparation, coordinate checks, display settings, common problems and a reliable handover.
Start with the question your map must answer. A site overview, an elevation assessment and a classified point cloud require different data. An attractive display does not establish survey accuracy, and a successful import does not prove that the selected output is suitable for the intended analysis.
Which DJI Terra outputs can you bring into QGIS?
This guide uses two format bridges: GeoTIFF for raster mapping and LAS for point clouds. DJI documents orthophoto and DSM GeoTIFF outputs, while its point cloud documentation lists LAS. QGIS documents GeoTIFF raster support and LAS/LAZ point cloud support.
| Deliverable | Input used here | What to check |
|---|---|---|
| Orthomosaic | GeoTIFF raster, commonly result.tif in Terra 2D outputs. | Image bands, extent, resolution and horizontal reference. |
| DSM | Elevation GeoTIFF, commonly dsm.tif. | Height values, units, NoData and whether above-ground objects are present. |
| Ground-focused elevation model | The elevation raster produced by the applicable terrain workflow. | Ground extraction, coverage gaps, interpolation and height reference. |
| Point cloud | LAS exported from Terra. | Coordinates, point attributes, classification and viewing performance. |
A mesh, an orthomosaic and a point cloud are different representations. Choose the dataset you need instead of renaming a file to a different extension. For the wider context, see our DJI Terra outputs guide.
Prepare the Terra export before opening QGIS
Keep an untouched copy of the reconstruction output. Build the GIS project from a working copy with a stable folder structure, so that display changes and derived results remain traceable.
- Identify the result: orthomosaic, surface elevation, ground elevation or point cloud.
- Record the reference: horizontal CRS, height reference and units.
- Keep the metadata: retain supplied projection information, reports and supporting files.
- Define the purpose: visual review, mapping, comparison or a specified analysis.
- Plan validation: keep independent checks and known limitations with the deliverable.
Select the Terra license against the reconstruction task and sensor, rather than the name of the downstream GIS application. Our DJI Terra license guide helps with that choice.
Create a small, representative test project
Before loading an entire survey, test one output that includes both typical coverage and a difficult area. Confirm that the file opens, sits in the expected location and retains the information you need. Then extend the same approach to the complete dataset.
How to import a DJI Terra orthomosaic into QGIS
In the English QGIS interface, use Layer → Add Layer → Add Raster Layer. Choose the GeoTIFF file and add it to the project. Alternatively, locate it in the QGIS Browser panel and add it from there. Menu wording may vary with the installed version and language.
Use the actual orthomosaic raster, rather than a screenshot or preview image. In standard Terra 2D outputs, DJI identifies result.tif as the DOM image and dsm.tif as the elevation result.
After import, review the survey boundary and a few recognizable features. Compare these with trusted reference data where available, accounting for differences in capture dates and reference quality. Inspect seams, missing coverage and areas affected by movement during acquisition.
If you overlay other layers, document their source and suitability. A general background map is useful for orientation, but should not be the sole acceptance test for a precise survey.
Display DSM and ground elevation rasters correctly
Add the elevation raster as a separate layer. Open its Properties → Symbology and select a suitable rendering style. QGIS documents single-band gray, single-band pseudocolor and hillshade rendering.
A pseudocolor ramp can make height variation easier to see. Check the selected band and value range, and include the units in the legend. A grayscale elevation display is not evidence of a failed reconstruction.
DSM and bare-ground terrain are different inputs
A surface model can include roofs, vegetation and other above-ground features. For an analysis that requires ground terrain, confirm how ground points were selected and how the terrain surface was generated. Classification cannot recover ground that was never observed.
For DJI LiDAR acquisition and processing context, read our DJI Terra and Zenmuse L2 workflow guide.
Style changes do not change the underlying elevations
Changing colors helps interpretation; it does not correct heights or improve accuracy. Before deriving slope, contours or another analysis, check the intended surface, units, resolution and validation evidence.
For comparisons between survey dates, agree a consistent area, reference and processing method. Treat differences in capture coverage or ground classification as possible explanations for apparent change.
Load a DJI Terra LAS point cloud in QGIS
Export the required point cloud as LAS. Use a supported point cloud loading route in your QGIS installation, such as the Browser panel. Check the official QGIS point cloud documentation for supported formats and version-specific behavior.
The first load may require indexing and additional time. Allow sufficient storage and keep generated supporting files where the installed version requires them. Test from a stable local working folder before relying on a network delivery workflow.
Review layer properties and available attributes. Use RGB coloring when color attributes are present, elevation coloring for height context, or classification coloring to inspect existing classes.
Inspect difficult locations: edges of buildings, narrow structures, vegetation boundaries and areas with sparse ground coverage. A visually dense cloud can still contain important gaps.
If the intended recipient works in BIM, our DJI Terra to Revit guide explains a separate handover through LAS, ReCap and indexed point cloud files.
Check coordinate systems, units and heights
QGIS distinguishes the layer CRS from the project CRS. The first describes the source coordinates; the second controls the map’s common display reference. Set the project reference deliberately and inspect the source information for each imported dataset.
Assigning a CRS is not reprojecting the data
Assigning a CRS changes how existing coordinates are interpreted. It does not transform their numerical values. If coordinates must be converted to a different reference, use an appropriate reprojection workflow and validate its result. Assign a missing CRS only when the original reference is known.
Where the workflow uses transformations, check that the selected operation is appropriate for the survey area and that required support files are available. The QGIS projection documentation explains these distinctions.
Record the height reference separately. A map that lines up horizontally can still contain elevations expressed in a different reference or unit. Our accuracy, GCP and RTK guide explains the importance of independent checks.
Common DJI Terra to QGIS problems
The orthomosaic looks black and white
Check whether you loaded the elevation raster instead of the orthomosaic. Then inspect the bands and rendering settings. Do not rerun reconstruction solely because the display style differs from Terra’s preview.
The layer appears in the wrong location
Review its original coordinate reference and project transformation. Check the export metadata rather than selecting EPSG codes until the layer appears to fit. Validate using appropriate known locations.
Dark areas or edges appear transparent
Inspect the raster’s transparency and NoData settings. Distinguish genuinely missing data from valid dark image pixels. In an elevation raster, zero can also be a valid height. Test any display adjustment on the working copy and inspect the survey boundary afterwards.
A very large orthomosaic will not open reliably
Check file integrity, storage and the installed software environment. DJI’s support guidance recommends the Map Grid function for certain large or long, strip-shaped 2D outputs that cannot be opened in third-party software. Consult the official DJI output display troubleshooting article before selecting an export workaround.
The point cloud loads slowly
Allow initial indexing to complete. Test a representative file and check available storage and memory. Review the upstream processing machine with our Terra workstation guide; assess QGIS viewing requirements separately.
The cloud’s colors or class display look wrong
Inspect the available attributes and selected renderer. A change in symbology does not create missing color values, classify ground or repair survey geometry.
Save and deliver a usable QGIS project
A QGIS project file stores project configuration and references to its layers. Saving a .qgz project does not, by itself, package every original GeoTIFF or LAS file.
Keep the source datasets in an agreed folder structure, use suitable file paths and test the package from the recipient’s location. Record any external layers or services that are required to reproduce the map.
Suggested handover checklist
- QGIS project and all required raster and point cloud datasets.
- Supporting files needed by the chosen data provider or format.
- Capture dates, dataset revisions and software versions.
- Horizontal coordinate reference, height reference and units.
- Quality evidence, coverage gaps and intended-use limitations.
- A short note explaining layers, display styles and any derived analysis.
- A successful opening test on the recipient’s machine or delivery location.
For a presentation map, include a clear title, capture date, legend and appropriate scale information. For technical analysis, supply the underlying data and methodology alongside the visual output.
DJI Terra to QGIS FAQ
Do I need a dedicated DJI Terra to QGIS plugin?
The GeoTIFF and LAS workflows described here use documented format support. Check the providers available in your QGIS installation before considering an additional plugin.
Should I import result.tif or dsm.tif?
Use the orthomosaic for image-based site context and the elevation raster for height information. Keep them as separate layers with descriptive names.
Can I use a screenshot instead of a GeoTIFF?
Use the actual georeferenced deliverable for the GIS workflow. A screenshot is useful for communication but may lack the source’s spatial reference, resolution and numerical information.
Does an aligned map prove the survey is accurate?
Alignment is one check. Accept the deliverable against the project specification using appropriate independent evidence, rather than appearance alone.
Can I deliver only the QGZ file?
Include the datasets and dependencies needed to reopen the project. Test the delivered package, rather than assuming the project file contains all survey data.
Plan your Terra processing around the GIS deliverable
Tell us your acquisition system, required outputs and intended GIS use. We can help assess the Terra processing and licensing requirements for the proposed workflow.
Official documentation
- DJI geospatial solutions FAQ: GeoTIFF mapping outputs.
- DJI Terra reconstruction output formats: point cloud and model formats.
- QGIS loading data: supported formats and import routes.
- QGIS raster properties: symbology, transparency and layer information.
- QGIS project files: saving projects and handling unavailable data sources.
Independent guide by Drone Emotions. Documentation reviewed on 8 October 2026, with QGIS interface references based on the 3.44 manual. Consult the documentation for the installed releases of DJI Terra and QGIS.


